cling film closures for in vitro flasks
For the first time we have seen this way to use cling foil to close in vitro flasks at cultures of the botanical garden Budapest. Until then, we had metal lids with filter discs in use. As the light comes from above in our growing room, metal lids are not the best choice because most of the light does not reach the plants in the flasks. For this reason, we began experimenting with cling film as a closure, and over time, all metal lids of our cultures were replaced by this new closure variety. The following table lists the advantages and disadvantages of cling film closures.
advantages
disadvantages
|
How to do it
The glasses with the culture media are sterilized with their metal lids in the pressure cooker or autoclave. Since the metal lids have no hole to compensate pressure changes, make sure that the lids are only loosely on the flasks and covered with a piece of aluminum foil (see next photo). If you screw the lids tightly before sterilizing the jars, there is a risk of damage to the jars during sterilization.

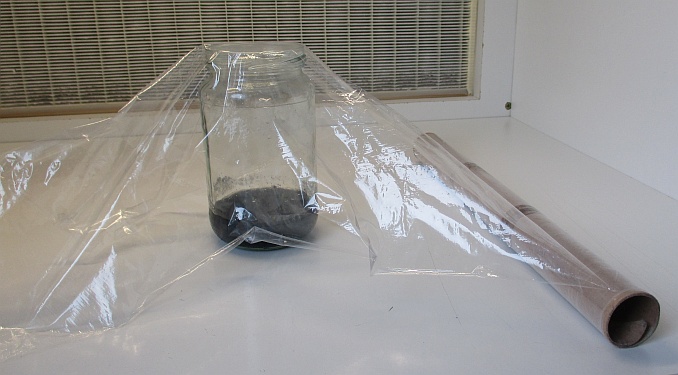
The sterilized flasks are processed as usual in the laminar flow hood. Instead of reattaching the metal lid after replating the plants, take the role of cling film and carefully roll off a piece of it. The side of the film that was inside the roll should be touched as little as possible because it is free of contaminations due to the production process. The following photo shows how the film is placed over a glass.
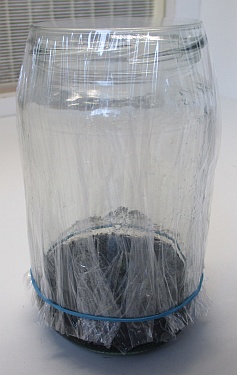
In the next step, cut the cling film near the roll with a sharp blade (e.g., cutter, razor, ...), smooth it, and fix it with a rubber band. The following photo shows a flask after trimming the film.
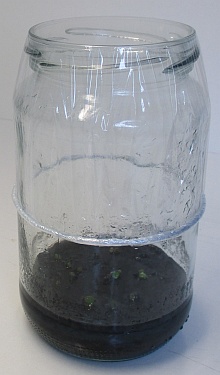
Since rubber bands lose moisture in a short time and thus become brittle, we roll up the film with the rubber band. So the closure stays intact for months. The following photo shows a finished glass ready to be transferred to the growing area.
TIP: This type of closure requires some experience in handling the film. Practice the technique a few times on empty glasses before using it for the first time!
Author: Thomas Ederer